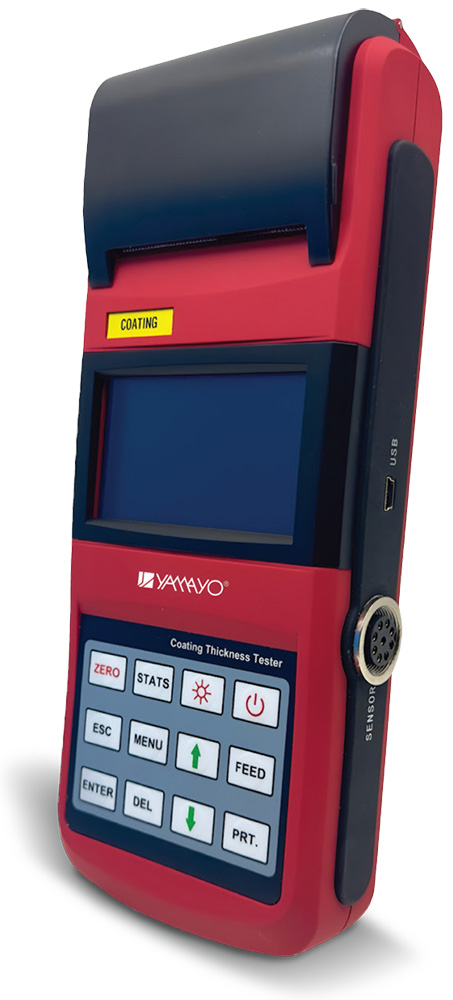
| Search |
| Search |


| Particulars | |
|---|---|
| Measuring range | Refer to the table below |
| Probes available | |
| Tolerance | |
| Minimum resolution: | |
| Measuring condition | |
| Operation language | English |
| Standards | DIN, ISO, ASTM,BS |
| Calibration | Zero and foil calibration |
| Statistics | Number of measurements, mean, standard deviation, maximum and minimum of 3000 readings |
| Data memory | 495 readings |
| Limits | Adjustable with alarm |
| Interface | USB |
| Working temperature | 0-40°C |
| Power Supply | Li-On rechargeable batteries |
| Dimensions | 270mm×86mm×47mm |
| Weight | Approx. 530g |
| Overall dimensions | 140mm x 52mm X 48mm |
| Weight | 440g |
| Name | Qty. |
|---|---|
| Main unit | 1 Pc |
| Calibration foil set | 1 Pc |
| Substrate | 1 Pc |
| Charger | 1 Pc |
| Probe (F/NF) | 2 Pc |
| Instruction manual | 1 Pc |
| Certificate of Calibration 6 optional probes | 1 Pc |
| Probe model | F400 | F1 | F1/90° | F10 | N1 | CN02 | ||
| Operating principle | Magnetic induction | Eddy current | ||||||
| Measuring range (μm) | 0-400 | 0-1250 | 0-10000 | 0 to 1250 μm 0 to 40μm (for chrome late on copper) |
10~200 | |||
| Low range resolution (μm) | 0.1 | 0.1 | 10 | 0.1 | 1 | |||
| Accuracy | One-point calibration (μm) | ±(3%H+1) | ±(3%H+10) | ±(3%H+1.5) | ±(3%H+1) | |||
| Two-point calibration (μm) | ±[(1~3)H%+0.7] | ±[(1~3)H%+1] | ±[(1~3)%H+1.5] | - | ||||
| Measuring conditions | Min curvature of the min area (mm) | Convex | 1 | 1.5 | Flatten | 10 | 3 | Flatten |
| Diameter of the min area (mm) | ø3 | ø7 | ø7 | ø40 | ø5 | ø7 | ||
| Critical thickness of substrate (mm) | 0.2 | 0.5 | 0.5 | 2 | 0.3 | unlimited | ||